Registering EU Trader Status in the Apple App Store

The deadline for providing trader status for the Digital Services Act, necessary for apps to remain on the Apple App Store, is fast approaching.

The timeline for app removal is laid out in Apple's recent email to developers:

Starting February 17, 2025: Due to the European Union’s Digital Services Act, your app will be removed from the App Store in the European Union unless you have provided your trader status and verified your trader address, if necessary.

At some point I hope to monetize at least some of my apps in the EU. Thus I decided to register as a trader. I am however not comfortable with sharing my home address, nor my personal phone number on the public facing App Store pages.

Setting Up a New Phone Number and Address

I was able to set up a phone number with Google Voice. This didn't cost anything.

To get a mailing address I signed up for a Personal Mailbox at the nearest UPS store. To do this I had to go to the store in person, show two types of photo ID, ask about the available postbox options, and fill out some paperwork.

My UPS mailbox costs $25 per month, plus an initial set up fee of $25. Another option was a USPS PO box, which can be had from $15/month, but the ones at that price were not conveniently located for me.

I came away from the UPS store with two pieces of paperwork:

  • A UPS Mailbox Service Agreement
  • A USPS Application for Delivery of Mail Through an Agent

To verify the address with Apple, I submitted scans of both pieces of paperwork, as well as the receipt for the money I paid to set up the postbox.

Apple Rejection and Approval

Apple reviewed and initially rejected my address paperwork (as is the expected Apple App Store developer experience).

Once I took care to annotate the mailing address in the PDF document to clearly indicate the address they were supposed to verify, the paperwork was approved.

Scanned version of the Application document, with the mailing address indicated in orange highlighter.

This image shows how I annotated the document to help Apple verify the mailing address.

Smaller iPhone = Smaller Environmental Impact

So you want to save the world? Get an iPhone SE.

Apple publishes environmental report cards for many of their hardware products on their Environment page. These reports contain detailed information about the environmental impact of production, lifetime use, recycling and more for each device. An estimated life cycle carbon emission value, measured in kilograms of Carbon dioxide equivalent, is provided for each device.

Most of the emissions occur at production of the phones and, as is evident in the chart above, the larger the phone the more carbon emissions are required to manufacture and ship it to the customer. As Apple has gone all in on larger devices their environmental impact has been slowly trending up over time despite the massive effort the company puts into making every step of the process as environmentally friendly as possible.

Of the phones that support the latest iOS version the iPhone SE is the device with the lowest impact at 45 kg CO2e, which is only about half of the impact of the massive iPhone 11 Pro Max. Some years earlier the even smaller, and to my eyes yet more beautiful, iPhone 4 had achieved the same low level of emissions.


There are some glaring omissions in Apple's list of product environmental report cards which is why the chart is missing data for the original iPhone, iPhone 5 and 5c, and iPhone 6 and 6 Plus.

Tesla Model 3 Unplugged – Summer edition

This is a follow up to my previous post about monitoring the phantom drain of my Model 3's battery as it sat parked for an extended period of time last winter.

Phantom Drain Summer 2019.png

Over 7 weeks this summer I remotely monitored the charge state of my car while I was away on vacation. During this time the state of charge dropped from 85% to 72%, meaning I saw not quite 2% of battery drain per week as the car sat parked in the garage.

The charge state was checked weekly using the Tesla app, thus allowing the car to remain at its low power sleep state for longer durations than during my last experiment when I took daily readings. I believe this explains why the drain was significantly lower this time around.


Car specification: Long Range Rear Wheel Drive Tesla Model 3, firmware version 2019.20.4, Sentry mode disabled.

Tesla Model 3 Unplugged – “phantom drain” when parked without plugging in

Despite Tesla recommending plugging their cars in when parking for extended periods I had to leave my Model 3 unplugged when I went to Sweden over the winter holidays.

Before heading to the airport I charged the car to 85% to make sure it wouldn't run flat. During my trip I tracked the so called “phantom drain” from the battery by taking a reading of the charge level every evening using the Tesla app.

Charge level vs. Day.png

After 42 days the charge level had only dropped by 28 points, to 57%. That's on average about ⅔ of a percentage point, or ½ kWh, lost per day. Based on this I wouldn't even worry too much about leaving the car unplugged for up to three months as long as I've charged it up beforehand. But plugging in while parked is of course always preferable as it lets the car run its battery management system.

An interesting data point to note is that one day after starting the experiment the charge level had increased to 86%. I suspect this was due to the battery recalibrating after the charging session.


Car specification: Long Range Rear Wheel Drive Tesla Model 3, firmware version 2018.42.4.

Environment: Unheated indoor garage in Seattle during December and January, temperature range 0 – 15°C (32 – 59°F).

Electric road trip from Seattle to Mount Rainier

In August 1919 a Detroit Electric EV made a promotional trip from Seattle to Mount Rainier. It's now 99 years later, and I decided to set out in a Tesla Model 3 Long Range to see if modern electric vehicle technology can do the same.

Precautions

The goal of this trip was to see if it is possible to reach the Sunrise Visitor Center and make it back to civilization without getting stranded on the side of the road in the middle of the wilderness. Since charging infrastructure is extremely lacking around the mountain I took some precautions to avoid running out of juice.

The aero wheel covers were put back on the car to improve aerodynamics, the tires were pumped just past their recommended pressure to lower rolling resistance, and Chill Mode was enabled to compensate for my lead foot. I left downtown Seattle with the battery charged to 99%.

Click to enlarge map

Route and efficiency

The route I took included a detour to pick up my brother at Seatac Airport, and then to the Weezer concert at White River Amphitheatre, before ending the first day of driving at a hotel in Puyallup. There was no charging at the hotel, so early the next morning we set off up the mountain with battery capacity at 77%.

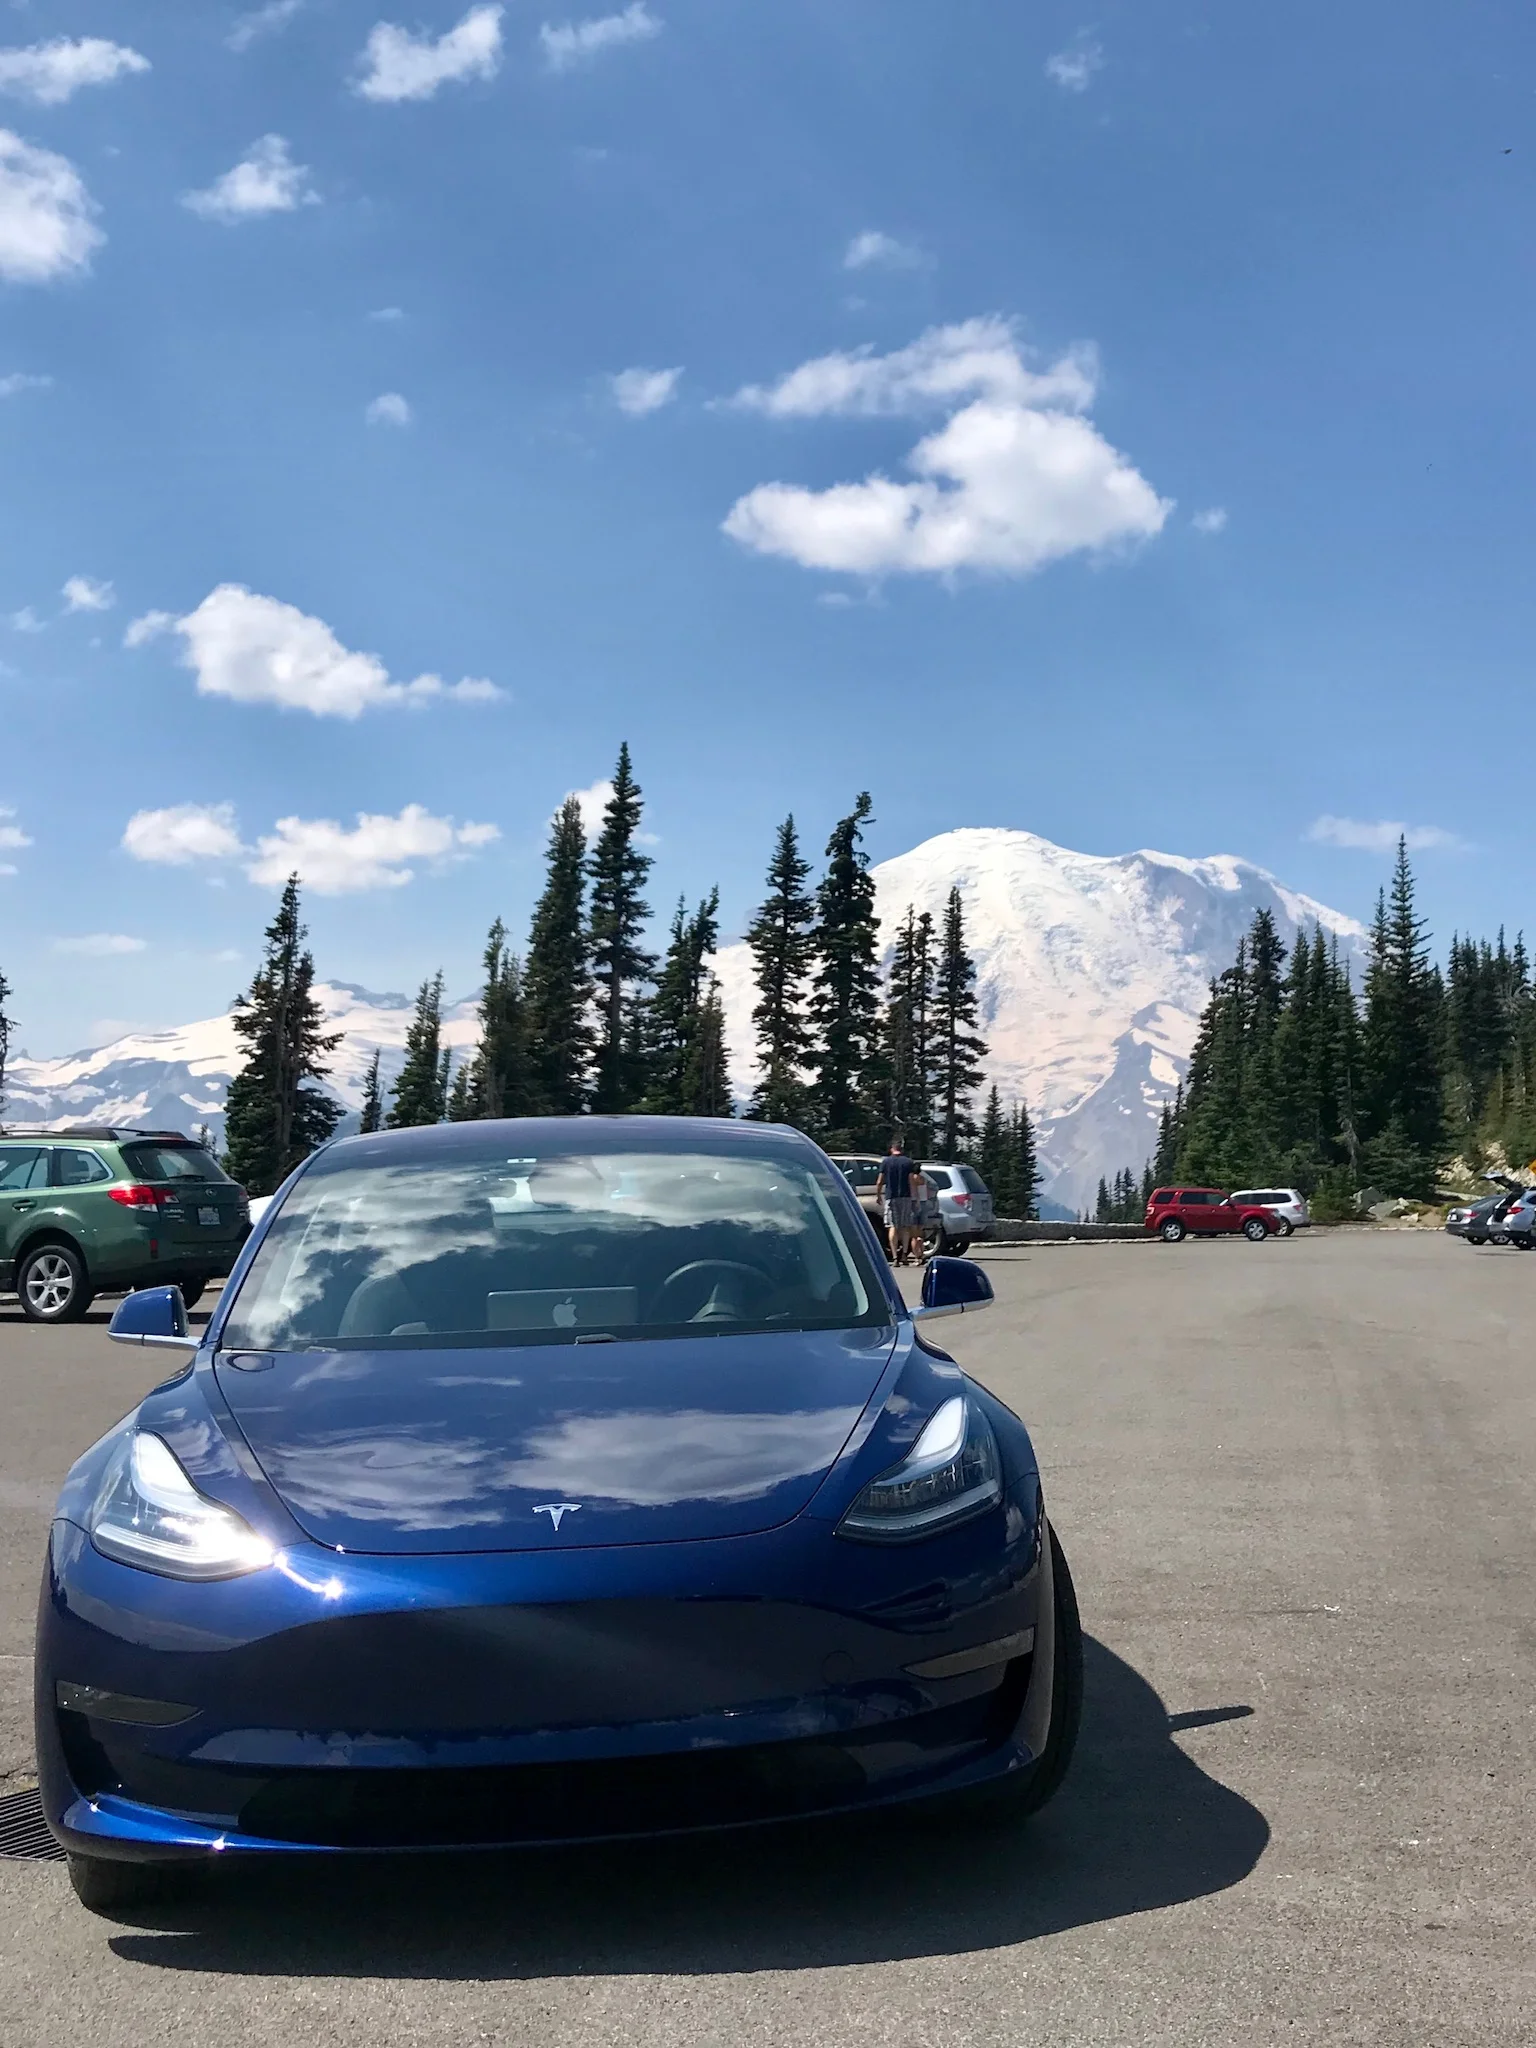
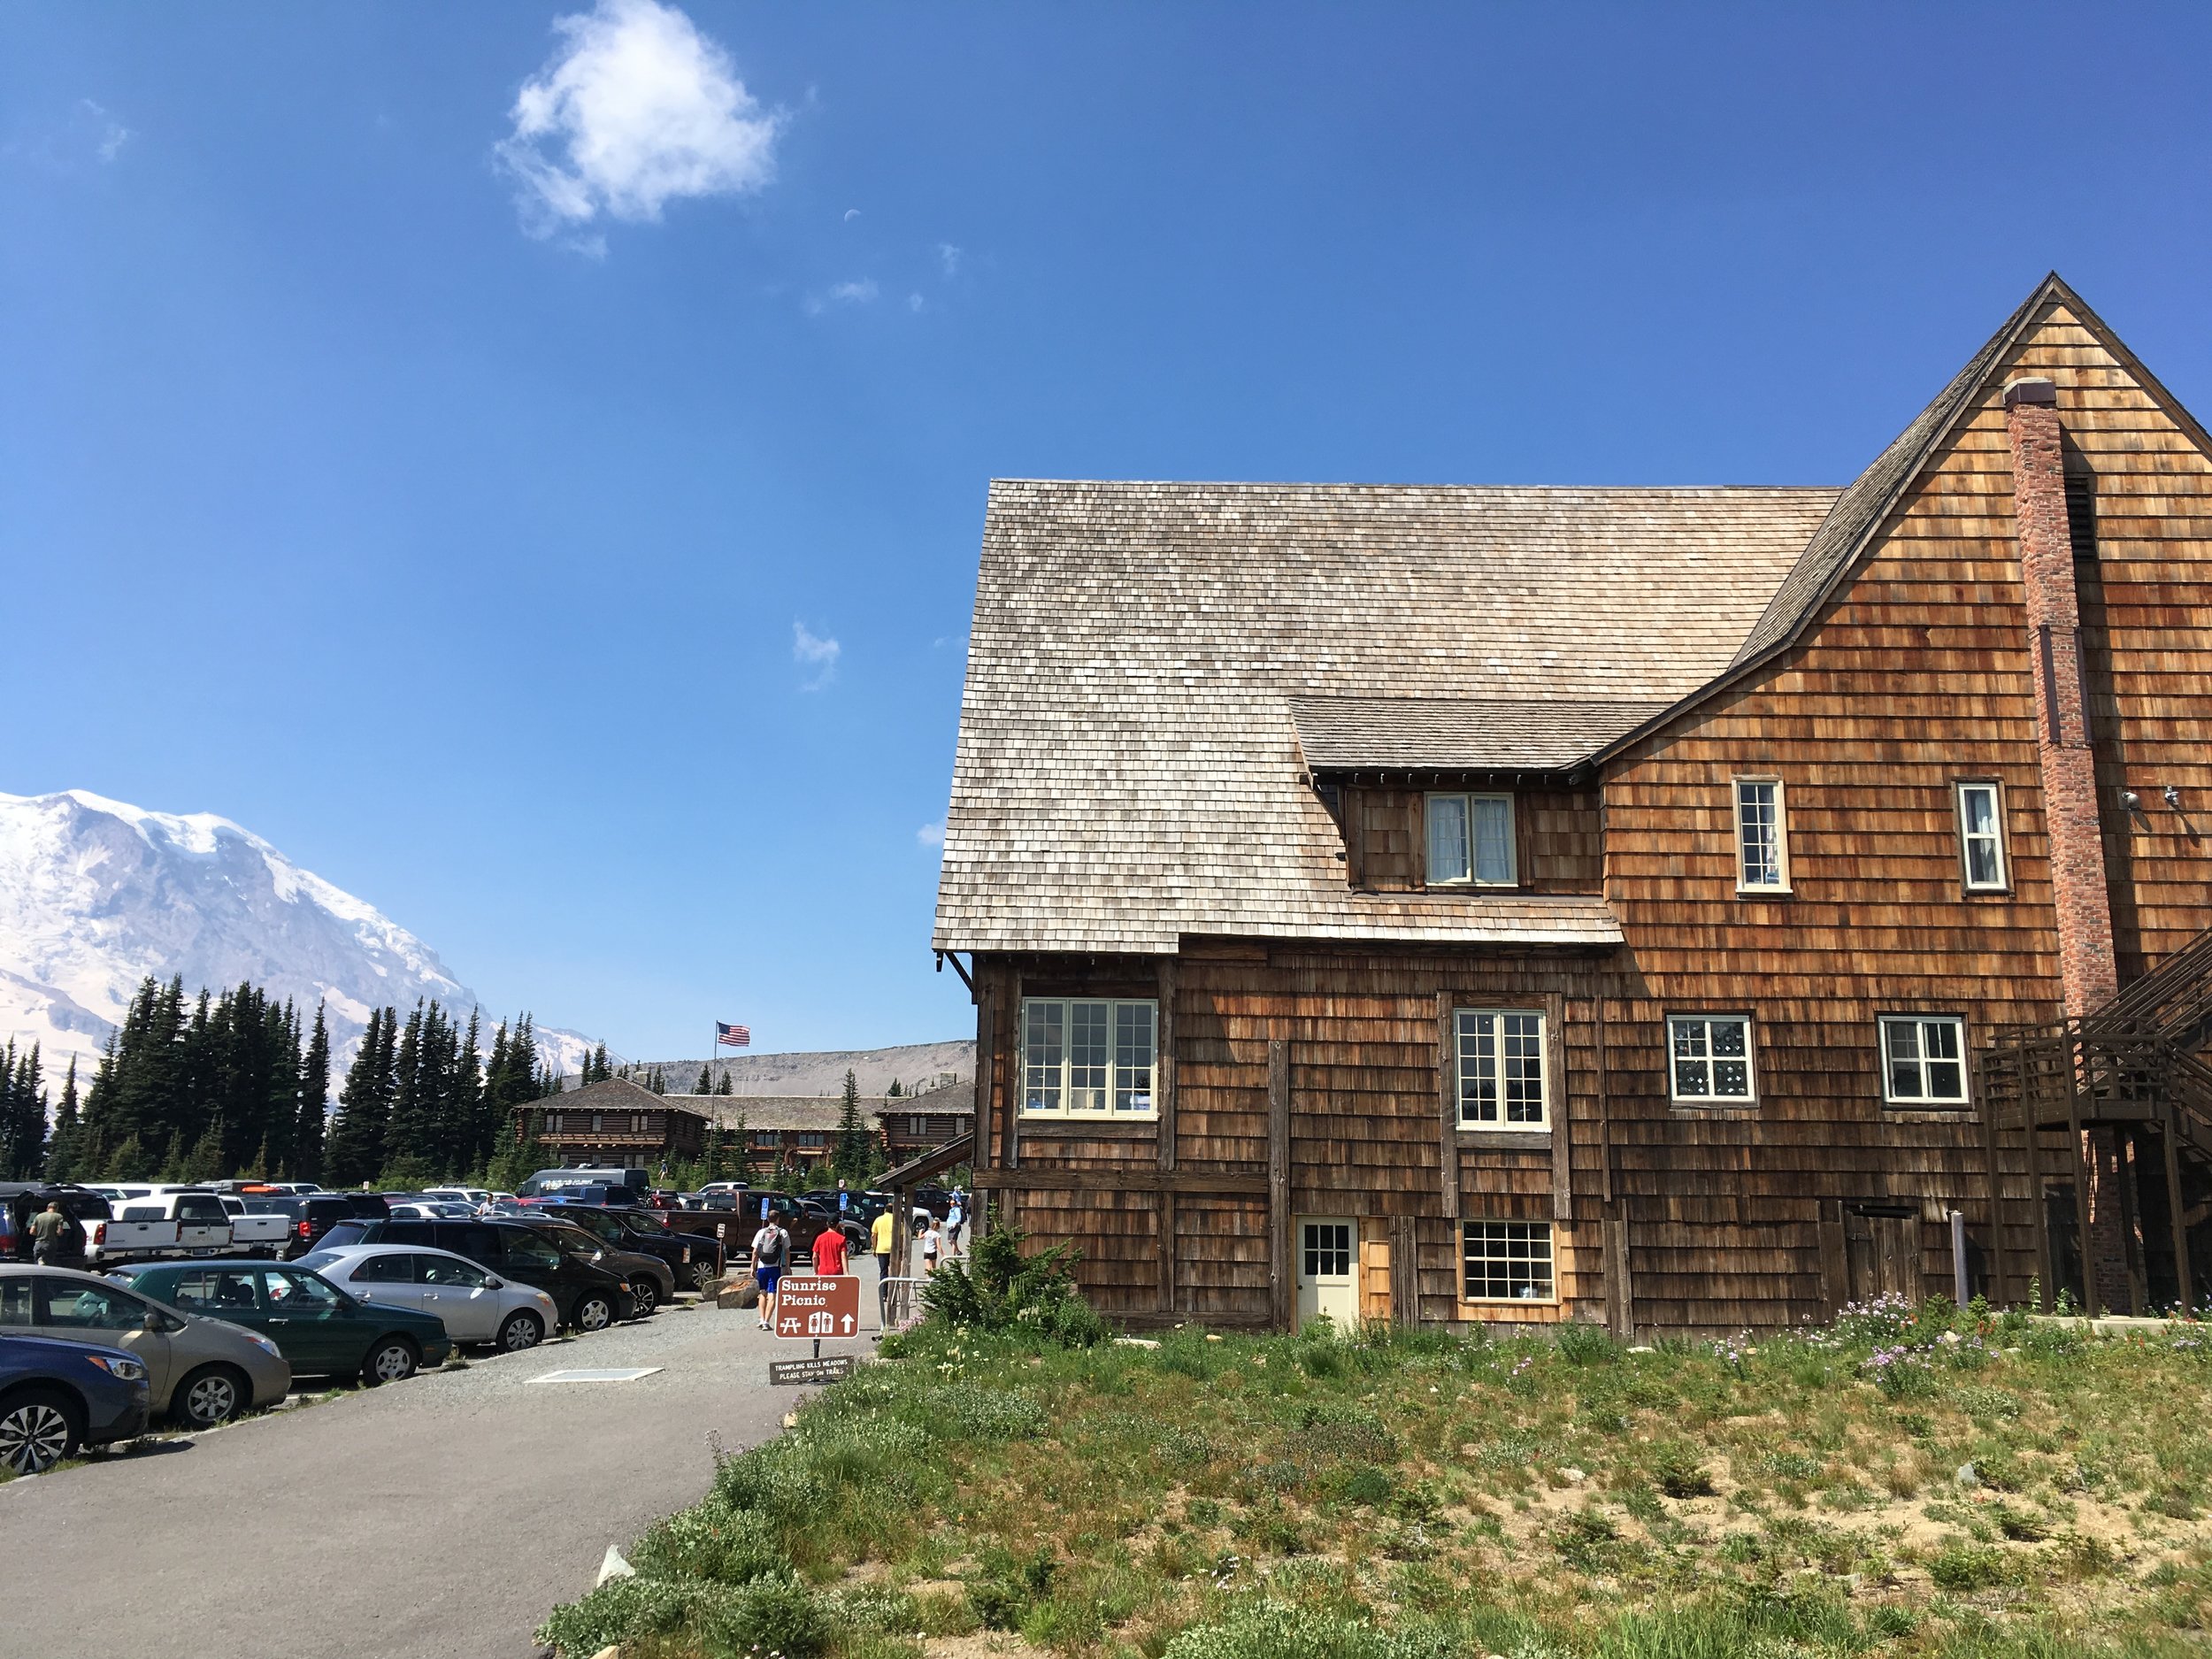
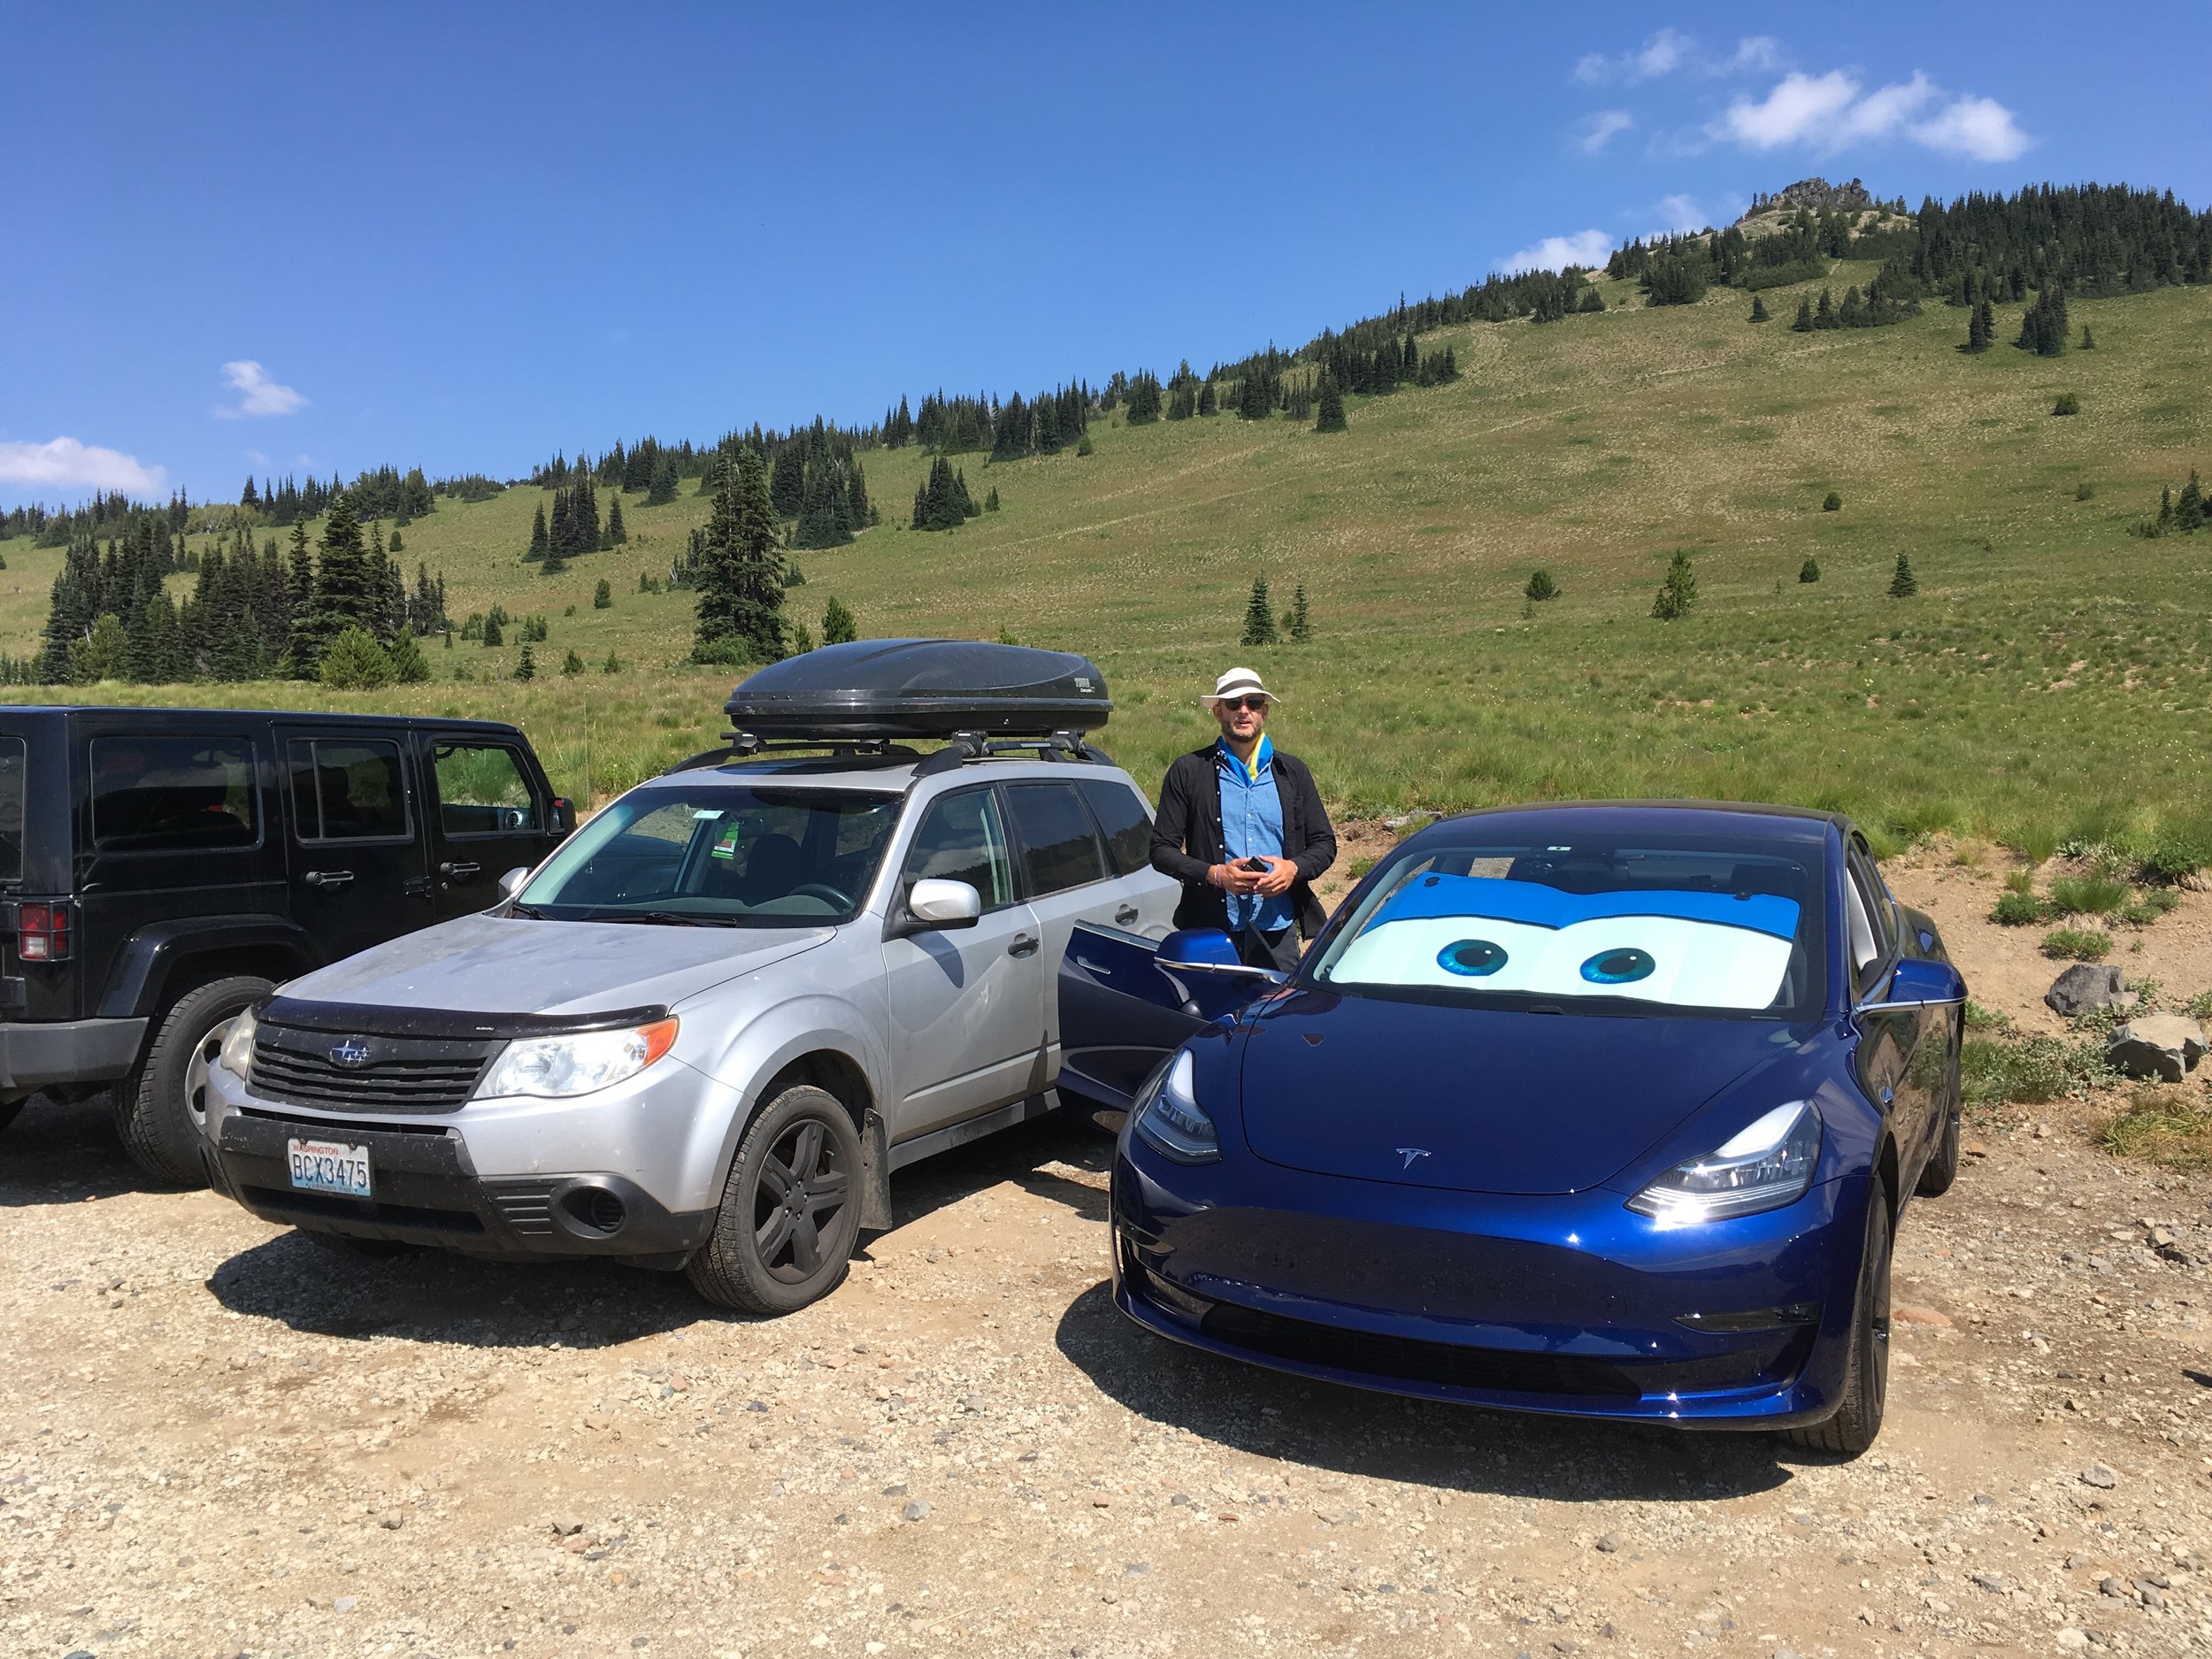
Tesla's navigation indicated that we would reach Sunrise Visitor Center at 1950 m elevation (6400 ft) with 30% remaining. Surprisingly we actually made it there with 41% remaining, having used 220 Wh/Km (353 Wh/mi) on the 114 Km (71 mi) drive from Puyallup.

While we enjoyed the views and mountain air for a few hours, we knew we were quite literally not out of the woods yet. Would the 41% battery be sufficient to get us to civilization?

Energy consumption went negative on the way down the mountain

Energy consumption went negative on the way down the mountain

We decided the next leg of our trip would be Route 12 south of the mountain, to the Centralia supercharger. As it turned out we needn't have worried about range. The regenerative breaking worked wonders on the way down and we arrived at the charger with 19% remaining in the battery, having used only 76 Wh/Km (122 Wh/mi) on the 195 Km (121 mi) drive from Sunrise Visitor Center.

Supercharging at Centralia, WA

Supercharging at Centralia, WA

After charging up at Centralia it would be no problem getting back to Seattle, so we declared the experiment a success at this point.

Road Trip Statistics

The stats for the full drive Seattle > White River Amphitheatre > Puyallup > Sunrise Visitor Center > Centralia ended up being 417 Km (259 mi), using 80% of the battery at a reported 133 Wh/Km (214 Wh/mi).

These reported consumption numbers look a little dubious to me. Assuming a battery capacity of 75 KWh the 80% utilization over 417 Km (259 mi) should be 144 Wh/Km (232 Wh/mi). I don't know how to account for this discrepancy unless losses while parked are excluded from the reported numbers. We did see 2% phantom drain during the hotel night, perhaps there was more drain during other stops along the way that I didn't notice.

Conclusions

I am frankly a little surprised at the reported efficiency figures we achieved during this trip. In my day to day driving I usually see reported consumption of 150 Wh/Km (240 Wh/mi). We did use air conditioning, but didn't speed or drive aggressively. I suppose the low speeds of the mountain roads helped avoid drag.

Something I hadn't considered before setting off was the lack of AT&T connectivity in the area. This lead to the car's navigation system being pretty unusable for the trip down the mountain until we found a spot with signal. Luckily I had brought a physical map. My brother's T-Mobile connection was superior to AT&T, so we could also use his phone as a navigation fallback.

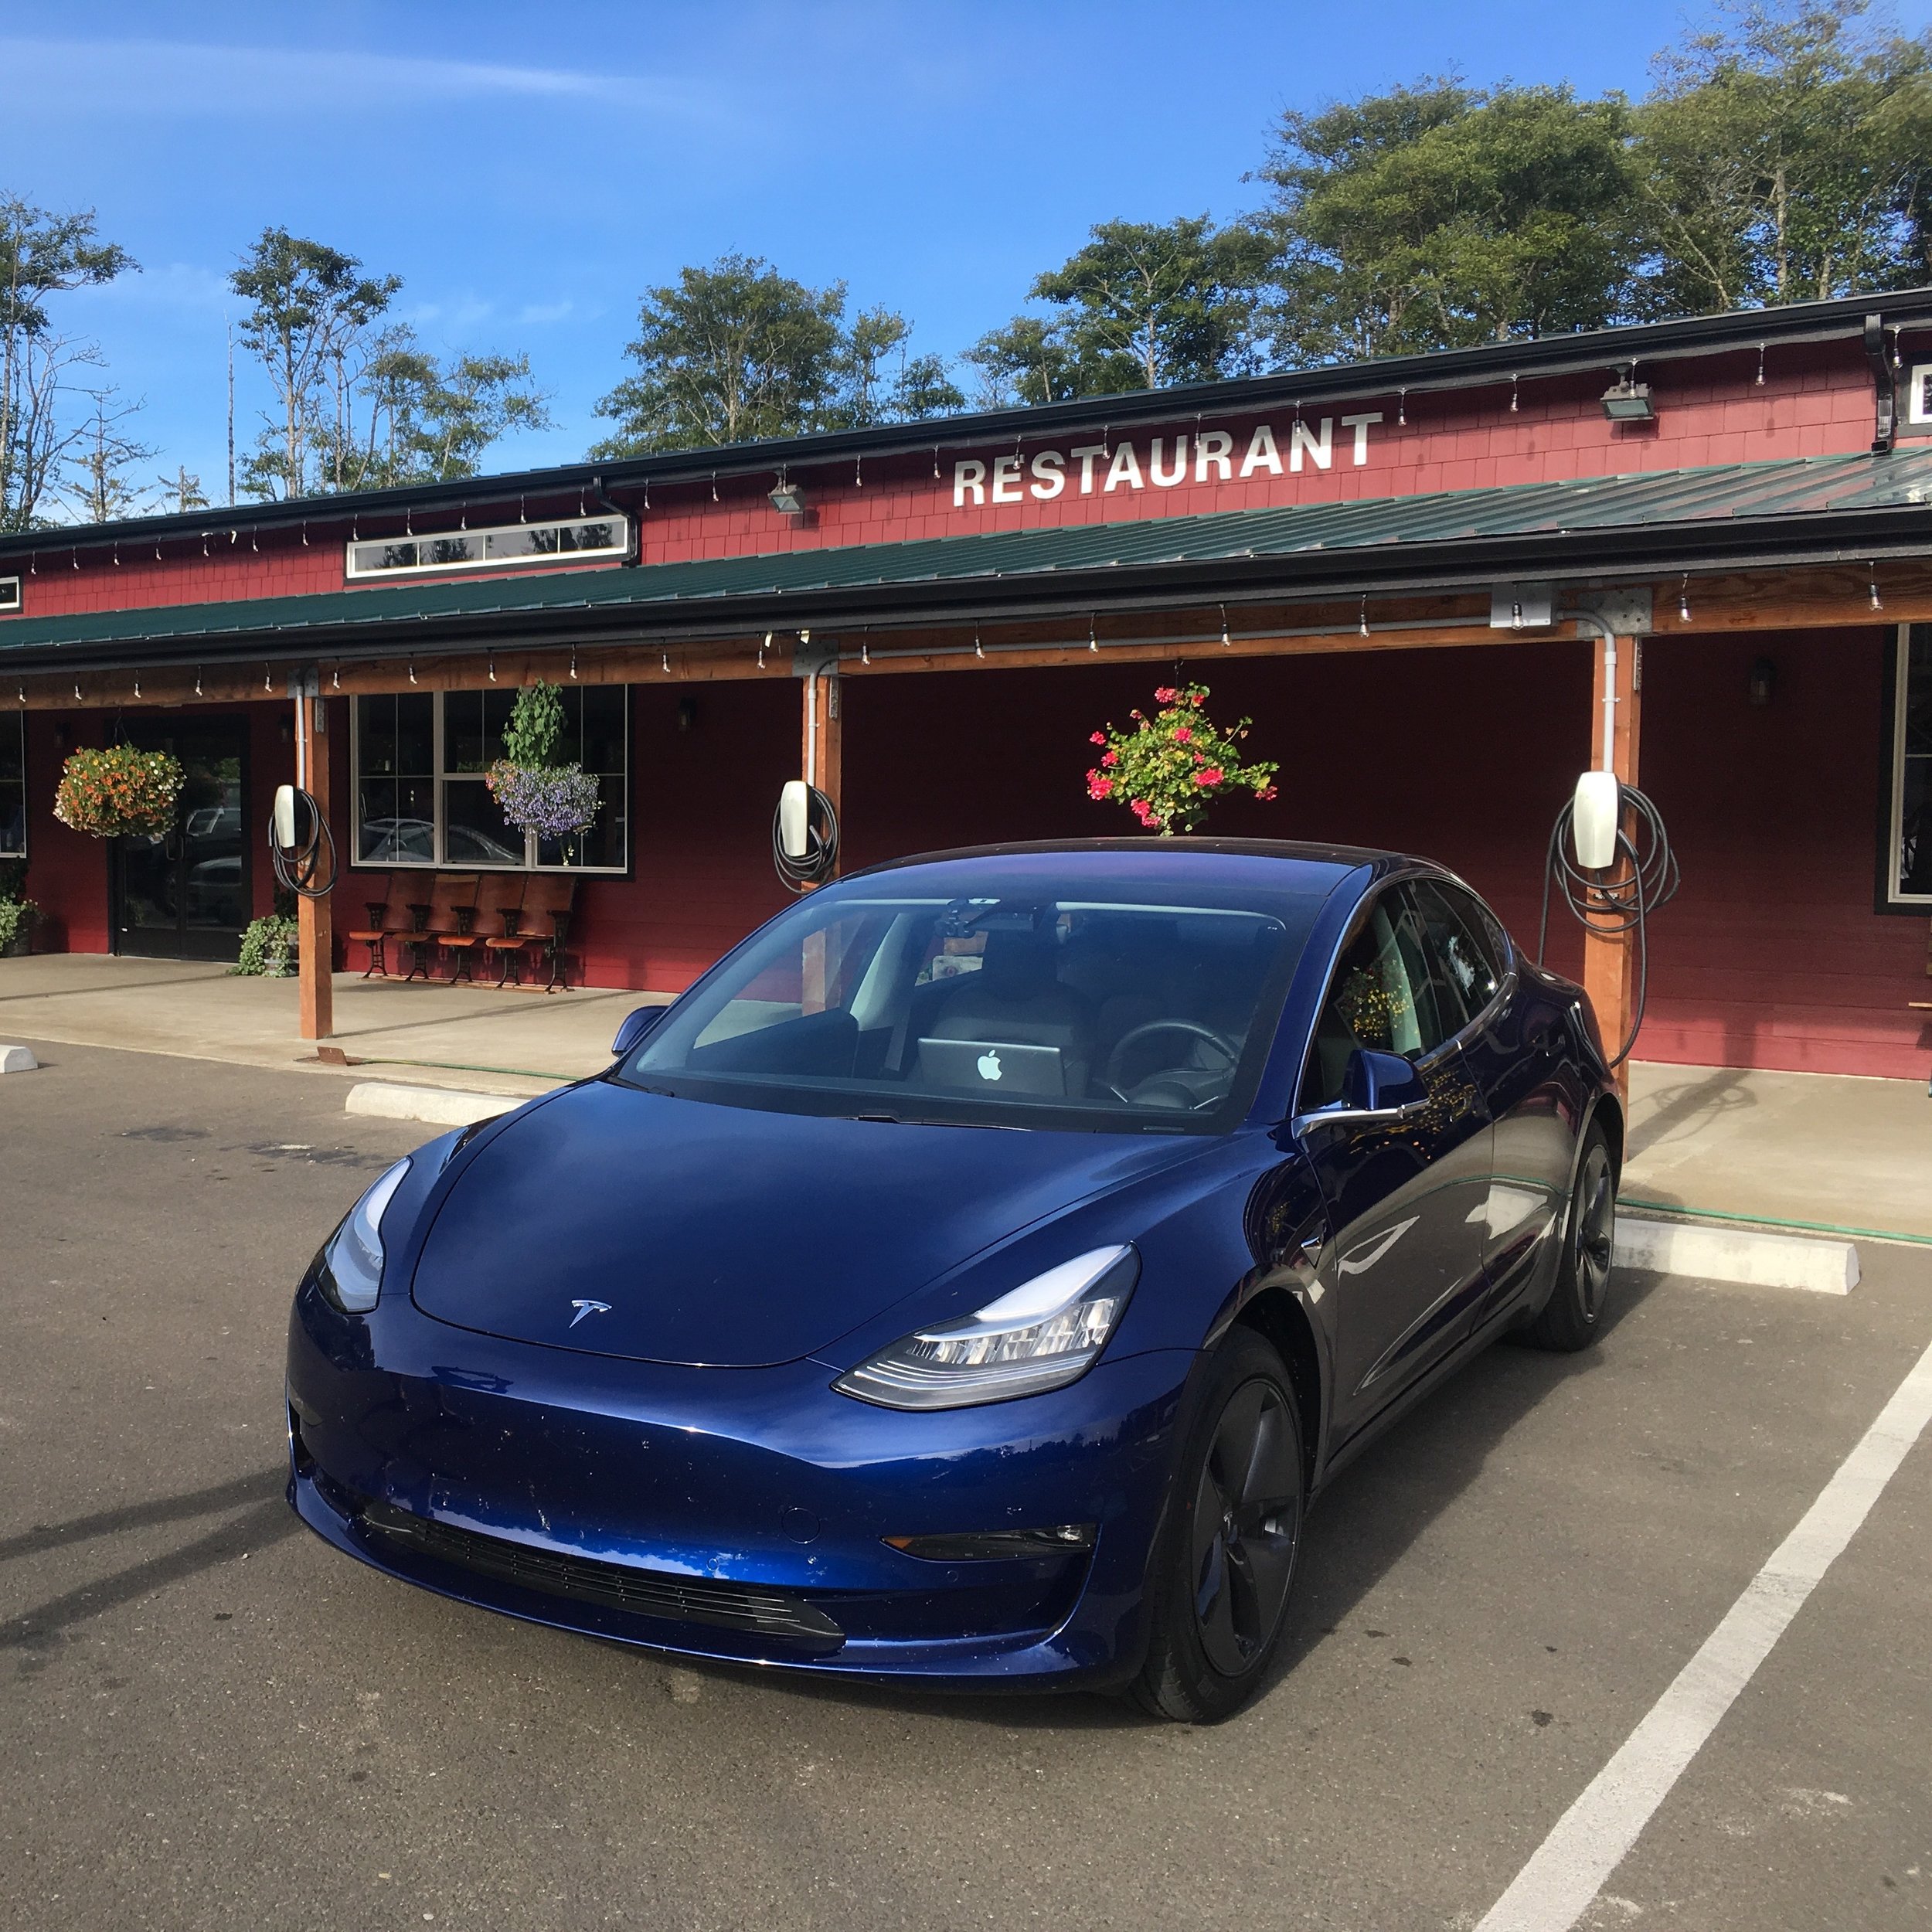
Instead of heading straight for Seattle we decided to extend our road trip to the Pacific ocean, setting our sights on Westport where we were delighted to find the Cranberry Road Winery, which had a Tesla destination charger.

Destination chargers at the Cranberry Road Winery

Destination chargers at the Cranberry Road Winery


Referral code

If you are considering buying a Tesla car or solar panels you can use my referral code "kim33408" to sweeten the deal. Details on the linked referral page.

https://ts.la/kim33408

Attributions

Icons used in route map graphic; "buildings" by Blair Adams from the Noun Project, "Airport" by Melissa Ambroso from the Noun Project, "Hotel" by Gan Khoon Lay from the Noun Project, "Mountains" by Alice Noir from the Noun Project, "charging" by Jared Ng from the Noun Project

App Camp for Girls campaign and interview

I was recently interviewed by App Camp for Girls about app development, diversity, and my background in the tech field. The interview is a part of their campaign to raise money to expand their program with camps in three new cities.

If you have the ability to do so you can support the campaign on Indiegogo. And if you're interested in how I ended up doing app development in Seattle I recommend reading the interview. As an additional bonus you'll see a never before published photo of me enjoying the outdoors in the state of Georgia :-)

Animating Tinted Bar Buttons

This week I gave a presentation about animating and tinting UIBarButtonItems at the Seattle Xcoders meetup. I've posted the slides and sample code for a simplified version of the demo app to my GitHub page.

Kim Ahlberg walks through implementation details of an animated, tinted bar button item. • Find Kim on Twitter at https://twitter.com/kimahlberg • Kim publishes code on GitHub at https://github.com/kimahlberg • Slides for this talk are available at https://www.theevilboss.com/blog/2017/2/9/animating-tinted-bar-buttons

During the presentation I mentioned I had filed a radar, it is number 23794402 – UIBarButtonItem with animated image doesn't respect tint color.

Click the image to download the slides.

Click the image to download the slides.

The Yosemite Adventure

Ever since I played adventure games on my dad's IBM PC XT as a little kid in Sweden, the mountain featured in the Sierra On-Line logo represented magic and adventure to me. That mountain, I've since learned, is named Half Dome and is in Yosemite National Park.

This spring I was able to take a week off work and head to California for the Yosemite conference. It's billed as The Apple Conference with a View — and boy were there views to behold!

After suffering through constant rain and hail for a thousand literal miles on the I-5 from Seattle, the climb over the pass into Yosemite Valley under a clear sky with pure white snow alongside the side of the road was a great experience. The view was simply mesmerizing.

The Yosemite conference, which took place at the Yosemite Valley Lodge, is not where you come for a deep dive into technical details. Instead the talks of this conference focus on how to stay sane and thrive in the tech industry, whether as an indie or in a jobby-job. Tips on getting products shipped, the importance of delivering quality, how to get a good night's sleep, and even how cows can promote creativity were the order of the day. And in addition to the talks there were musical components with Jonathan Mann providing daily musical commentary on the proceedings, as well as a performance by James Dempsey and the Breakpoints featuring a plethora of guest artists.

Jonathan Mann and friends performing the Accidental Tech Podcast theme song

Similar to my experience at the Big Nerd Ranch, Yosemite offers barely any network connectivity to the outside world, providing a sense of isolation. I personally found the lack of connectivity helped build community within the group of attendees and presenters. Many of us would meet up in the bar in the evenings for interesting conversations that sometimes went a little too far into the night.

Laura Savino and Doug Beal mixing their own non-alcoholic drinks at the bar

While I was lucky enough to meet and hang out with several new acquaintances, one of the most memorable interactions was a lengthy conversation I had with Jason Snell about Californian geography and the space industry.

Hal Mueller making use of the one spot with decent 4G connectivity

Mixed in with the frankly super inspirational talks and performances, by an all star cast of presenters/entertainers, was the opportunity to go hiking with the other attendees. The selection of hikes catering to all experience levels would be a shame to miss as the scenery in Yosemite Valley rivals even the beauty of the Seattle area.

A photo walk led by James Duncan Davidson was also offered. Leisurely strolling through the scenery with a group of people all looking to find unique photo opportunities was a fun experience.

A group of photography enthusiasts

Jeff Watkins went off trail to get the shot

Maia Olson sneaking up on the wildlife, represented by Christopher Pickslay

I'm tremendously happy that this spring I got to see Half Dome in person for the first time. To me it no longer just represents gaming adventure — it now represents professional adventure as well. With most of the year behind me, including a trip to WWDC, I firmly believe that going to the Yosemite conference was my best decision of 2016.

Me, El Cap, and the Half Dome

My sincere thanks to the Klein family for organizing a wonderful conference, to Hal Mueller for the safe and comfortable ride from Seattle to Yosemite, and to Alan Forkosh for driving me to San Francisco after the conference ended. In SF I got to spend the night drinking tequila in the marina aboard an Apple design manager’s yacht. But that’s a story for another time…

Apple Watch and Task Oriented Watch Faces

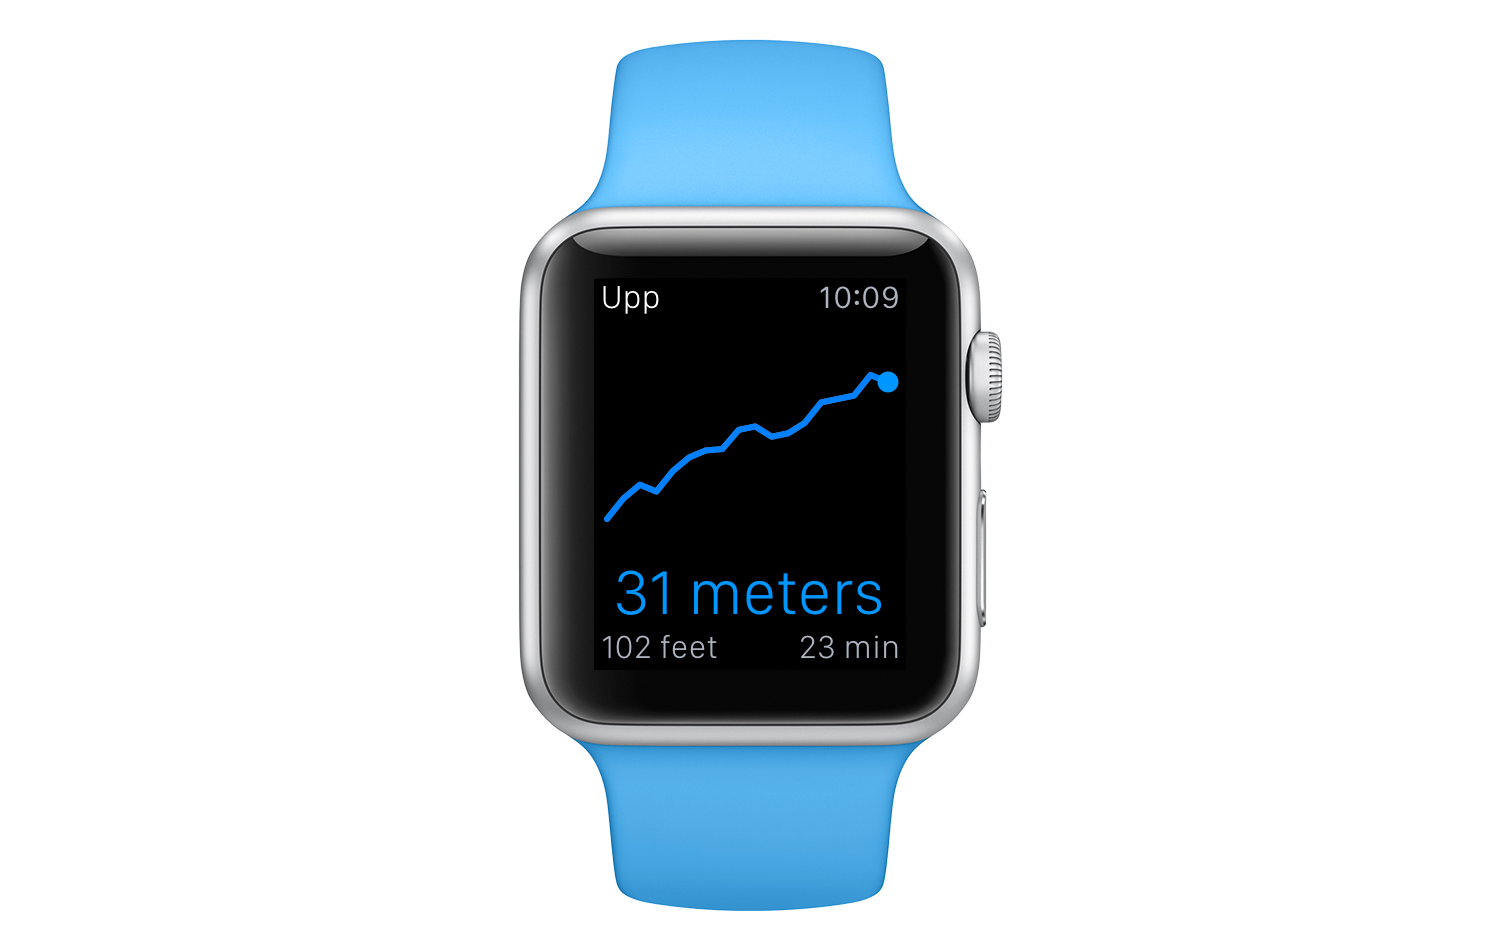
After having spent a lot of time reading reviews, watching videos, and learning as much as possible about the Apple Watch without having one, I've decided to pursue a lightweight type of app concept I've chosen to call Task Oriented Watch Faces.

These are apps meant to be worn while performing activities which make two handed use of the watch inconvenient, but where you’d want quick access to relevant information by glancing at your watch. I've started work on a rock climbing app under the working title Upp (the Swedish word for up).

The concept of task oriented watch faces is based on the capability to set the watch to show the latest shown screen when it's awaken, instead of showing the regular watch face. Using this setting the wearer can use Upp as a temporary watch face during their climb to get instant access to how high they've climbed since setting off.

Upp watch interface mockup

Upp watch interface mockup

On-the-watch interactivity will be limited. The idea being you launch the app before starting your climb and then access it by raising your wrist anytime you want to see the current altitude status.

I have ideas for other Task Oriented Watch Faces, but at the moment I'm focusing on Upp and am in need of Watch wearing beta testers. Please get in touch if you are willing to help out.

Playful data visualizations using Sprite Kit

On March 12th 2015, I gave a brief show & tell about how I used Sprite Kit to make something that isn't a game at the Seattle Xcoders meetup.

The slides and sample code have been posted to my GitHub page.

Note that the posted sample code is a simplified project only focusing on the Sprite Kit section of the talk. For example; the interactive line chart which was also briefly demonstrated has been replaced with a static image.

The event was recorded, but the video hasn't been posted yet. I'll update this post once it's available. In the meantime here are links to some good resources about Sprite Kit;

Regarding Lynda, if you have a Seattle Public Library card you can access all their courses for free.

OS X intrusion monitoring using push notifications

Warning: You need to be very comfortable using the Terminal to follow along. I take no responsibility for what happens to your system if you try to follow these instructions without understanding what they do.


Watching the documentary film The KGB, the Computer, and Me inspired me to try my hand at setting up an intrusion detection system, similar to the pager alert system Cliff Stoll used to alert himself when the intruding hacker logged onto the computers he administered at Berkeley in the 1980s.

My home server exposes both VNC and SSH to the public Internet, and it has always worried me that someone could hack into it and perform any number of unsavory deeds without me ever finding out. I did some quick studying and decided I should be able to detect VNC and SSH log ins and send myself a push notification without too much trouble.


Detecting log in events

Connection events in OS X 10.10 Yosemite are recorded in the system.log file. As soon as a new line is added to this log file the intruder notification system should look at it to see if it indicates that a successful log in event has occurred.

We can run tail on the log file in the terminal to see the system log messages in real time.

> tail -F /var/log/system.log

By analyzing log events while logging in using VNC and SSH I determined that suitable phrases to look for are Authentication: SUCCEEDED for VNC connections and Accepted keyboard-interactive/pam for SSH.

To automate this work we create a shell script in our home folder named notifylogin.sh.


while read line; do
    if [[ $line == *"Authentication: SUCCEEDED"* ]]
    then
        echo "VNC login detected"
    fi

    if [[ $line == *"Accepted keyboard-interactive/pam"* ]]
    then
        echo "SSH login detected"
    fi
done

Before we can try our script out we need to make the script file executable.

> chmod +x notifylogin.sh 

We can now verify our intrusion detection by piping the output from the system log file into our script and logging in using VNC and SSH.

> tail -F /var/log/system.log | ./notifylogin.sh 
Seems to work.

Seems to work.


Sending push notifications

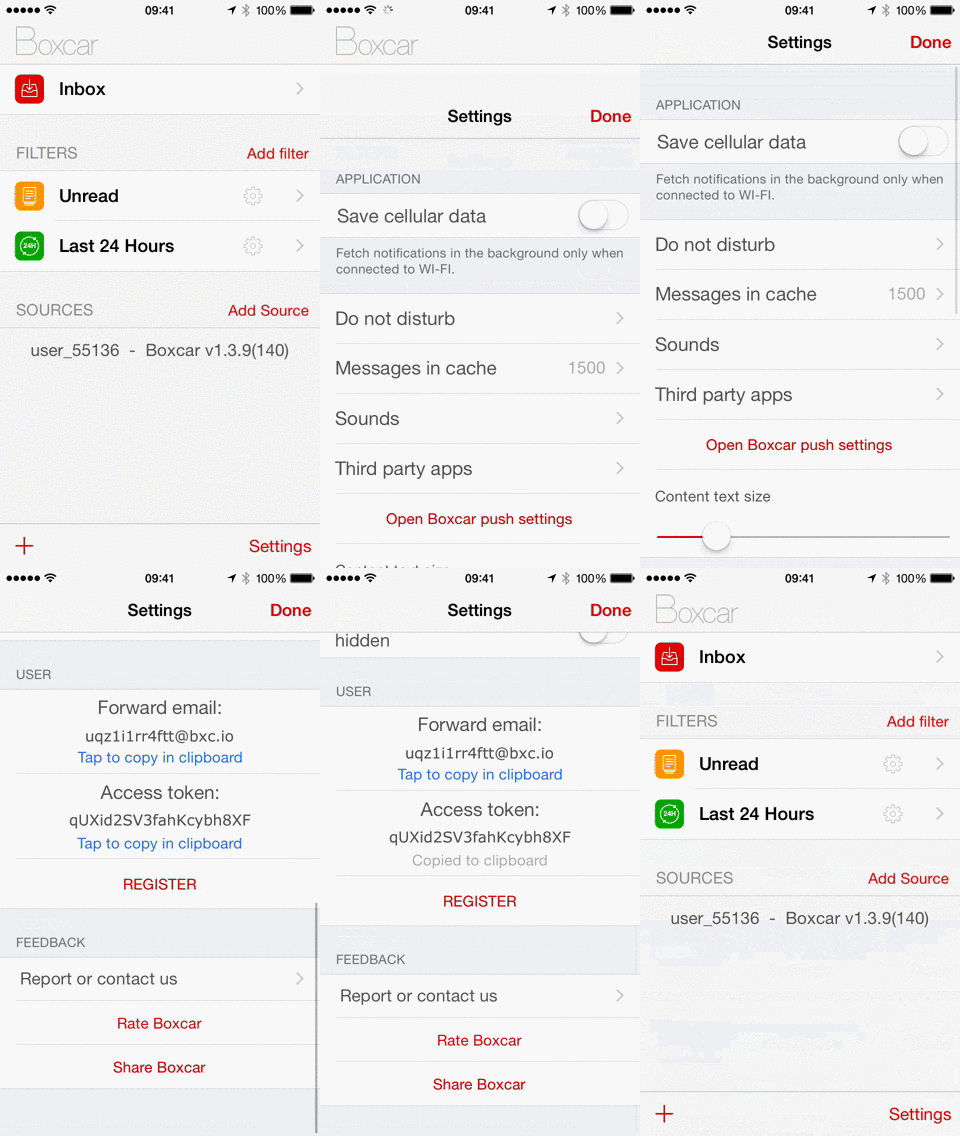
We'll use Boxcar.io to send push notifications to our phones. The Boxcar 2 app needs to be installed on the phone meant to receive our notifications, but you don't need to create a Boxcar account or sign in unless you feel like it. You do need to give it permission to show you notifications, obviously.

We will need to copy the access token out of the app's settings pane so Boxcar knows where to send our notifications.

Copy user token.gif

Once we have our access token we can use curl from the terminal to send ourselves a push notification. Substitute your personal access token for all occurrences of [ACCESS TOKEN] in the commands and scripts below.

> curl -k -d "user_credentials=[ACCESS TOKEN]" \
       -d "notification[title]=Login detected" \
       -d "notification[long_message]=Someone logged in" \
       https://new.boxcar.io/api/notifications

For more information about the parameters we can send to Boxcar, see How to send a notification to Boxcar users.

We now add a function for sending push notifications to notifylogin.sh, and add calls to this function when either type of log in event has been detected.


function notifyLogin {
    curl -k -d "user_credentials=[ACCESS TOKEN]" \
         -d "notification[title]=Login detected" \
         -d "notification[long_message]=Someone logged in using $1" \
         https://new.boxcar.io/api/notifications
}

while read line; do
    if [[ $line == *"Authentication: SUCCEEDED"* ]]
    then
        echo "VNC login detected"
        notifyLogin VNC
    fi

    if [[ $line == *"Accepted keyboard-interactive/pam"* ]]
    then
        echo "SSH login detected"
        notifyLogin SSH
    fi
done


Start monitoring on system startup

We're almost done, but an intrusion detection system that doesn't automatically start on boot isn't worth much. To finish up we add a launch daemon to our machine.

First we create a script file watchlog.sh that performs the tail command and pipes the results to notifylogin.sh. We need to make sure we give the full path to notifylogin.sh since this will be executed by the system, so replace [USERNAME] to provide the correct path.


tail -F /var/log/system.log | /Users/[USERNAME]/notifylogin.sh

As usual we need to mark this script as executable for it to work.

> chmod +x watchlog.sh

We then create a .plist file in the /Library/LaunchDaemons/ folder to launch this script on system boot. We name the file com.theevilboss.notifylogins.plist, and make sure to replace [USERNAME] to provide the correct path to watchlog.sh.


<?xml version="1.0" encoding="UTF-8"?>
<!DOCTYPE plist PUBLIC "-//Apple//DTD PLIST 1.0//EN" "http://www.apple.com/DTDs/PropertyList-1.0.dtd">
<plist version="1.0">
    <dict>
        <key>Label</key>
        <string>com.theevilboss.notifylogins</string>
        <key>ProgramArguments</key>
        <array>
            <string>/Users/[USERNAME]/watchlog.sh</string>
        </array>
        <key>RunAtLoad</key>
        <true/>
    </dict>
</plist>

Any .plist files placed in the /Library/LaunchDaemons/ folder needs to be owned by the system to be picked up and executed by the launch daemon, so we change its owner to root.

> sudo chown root com.theevilboss.notifylogins.plist


Verification and troubleshooting

After restarting the machine we should be able to confirm that the notification system works by simply logging in using VNC or SSH and waiting for a notification banner to appear on our phone.

If no notifications come through there are a few likely issues:

  1. Banner notifications should be enabled for the Boxcar app.

  2. We must use our personal Boxcar access token in the notifylogin.sh script file.

  3. The watchlog.sh script file must contain the correct path to notifylogin.sh.

  4. The com.theevilboss.notifylogins.plist file must contain the correct path to watchlog.sh.

  5. The com.theevilboss.notifylogins.plist file should be placed in the folder /Library/LaunchDaemons/.

Another issue is that the file com.theevilboss.notifylogins.plist could be somehow either malformed or not owned by the system (i.e. the root user), in which case it wouldn't load. We can see if it's loaded using launchctl in the terminal.

> sudo launchctl list com.theevilboss.notifylogins

DISCLAIMER: This solution is what I came up with after a little research, but it may not be the best way to do it. If there's an obviously superior method, or if something I did is a bad idea for any reason I very much want to hear about it.

Replacing the battery in an Estimote iBeacon

After about a year of usage one of my Estimote iBeacons ran out of battery power this spring. I couldn't find any proper instructions explaining how to replace the CR2450* battery inside, but I did find some guidance in a comment on an Estimote blog post.

...the best and easiest way to cut the Beacon is a vertical cut across the top of the enclosure.

I followed the advice, and I have to say it worked out well enough.

Using a razor blade I made a cut down the middle allowing me to, with some effort, wrestle the actual beacon hardware out of the enclosure and replace the battery.

The beacon enclosure does carry a visible scar from the operation, although I doubt you'd notice unless you knew to look for it. I also suspect the device is no longer weather resistant. But it is, once again, a fully functioning iBeacon!

Extending battery life

Earlier this year Estimote released an update to their firmware with a set of power saving features. The firmware update is applied using the Estimote iOS app.

After briefly playing around with the power settings, the new battery in my Estimote beacon has a life expectancy of 32+ months.

---

*Estimote beacons shipped in May 2014 and later use a bigger CR2477 battery.